Replacing a door might seem like a straightforward process, but it involves several considerations that can significantly impact the outcome. Whether you are looking to upgrade the aesthetic appeal of your home, improve energy efficiency, or address structural concerns, understanding the essentials of door replacement is crucial. This guide outlines everything you need to know about replacing your doors effectively and efficiently.
Reasons to Choose a Door Company Alexandria, VA Residents Trust
NOVA Exteriors
5568 General Washington Dr Ste A-208A
Alexandria, VA 22312
703-322-1500
https://www.novaexteriors.com/alexandria-va-door-contractors
Before jumping into the replacement process, it’s important to identify whether your door requires replacement or just minor repairs.
- Drafts or Energy Inefficiency
If your door allows drafts to enter or doesn’t maintain indoor temperatures effectively, it may be poorly insulated or damaged. - Visible Damage
Cracks, warping, rot (in wooden doors), or dents in metal doors suggest that repair may no longer be sufficient. - Difficulty in Operation
Sticking when opening/closing, squeaking hinges, and misaligned frames often signal significant wear and tear. - Outdated Style
An older door design can detract from your home’s overall curb appeal. Replacing it with a modern option can enhance both aesthetics and resale value.
Types of Door Repair Alexandria, VA: How to Choose the Right One
Selecting the right type of door is essential for both functionality and style.
| Type | Description | Best For |
| Wooden Doors | Classic and customizable; offers insulation | Traditional or rustic-style homes |
| Fiberglass Doors | Durable, low-maintenance, weather-resistant | High-traffic entryways |
| Steel Doors | Secure and cost-effective | Front doors with added security |
| Glass Panel Doors | Allows natural light; stylish | Patio or modern interiors |
When choosing a new door:
1. Consider the climate in your area (e. g. , fiberglass performs well in extreme weather conditions).
2. Match the design with your home’s architectural style.
3. Check for energy-efficient features like insulated cores or low-emissivity (Low-E) glass panels if applicable.
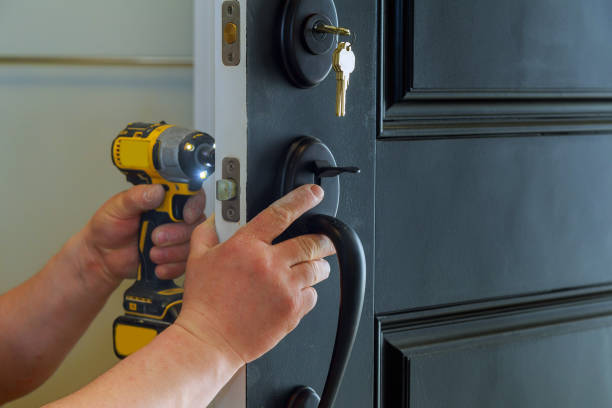
Tools Needed for Door Replacement
- Measuring tape
- Screwdriver set (manual or powered)
- Pry bar (for removing trim)
- Level for alignment checks
- Hammer and nails/screws
- Shims (for adjustments within uneven frames)
- Caulking gun (to seal gaps after installation)
Additional Materials:
If installing an exterior door:
Weatherstripping for improved insulation
Threshold sealant for moisture protection
Being equipped with these tools ensures smoother transitions from removal to installation steps while maintaining precision throughout each phase.
Door replacement doesn’t just serve as a practical improvement—it transforms how spaces feel and function while adding long-term value when done thoughtfully. By identifying signs of wear early on, selecting materials wisely based on intended use cases/climate conditions—and preparing properly—you’ll set yourself up successfully during every step involved.
Step-by-Step Guide to Replacing a Door Successfully
Replacing a door might seem like a challenging project, but with the right guidance and tools, it can be accomplished efficiently. Below is a comprehensive step-by-step guide to help you successfully replace a door.
Tools and Materials You’ll Need
- Measuring tape
- Level
- Screwdriver or drill
- Hammer
- Utility knife
- Pry bar
- Saw (if trimming is needed)
- New door (pre-hung or slab)
- Hinges and hardware (if not included with the pre-hung door)
- Screws
- Shims
- Insulation or weather-stripping
Having everything prepared will save time and make the process smoother.
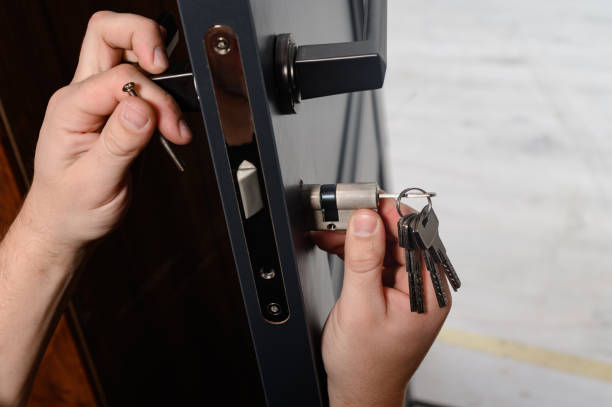
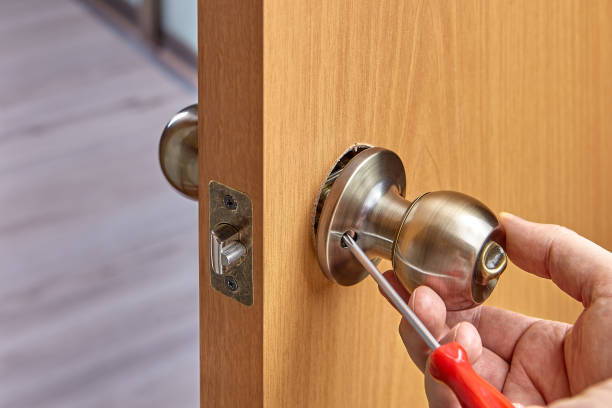
Step 1: Remove the Old Door
- Take off the Door: Start by removing the existing door from its hinges. Use a screwdriver or drill to remove hinge pins and carefully lift the door out of its frame.
- Remove Hardware: Take off any old hardware such as handles, locks, or hinges that won’t be reused.
- Detach the Frame: For a full-frame replacement, use a pry bar to carefully remove trim and casing without damaging nearby walls. Detach the old frame from the rough opening.
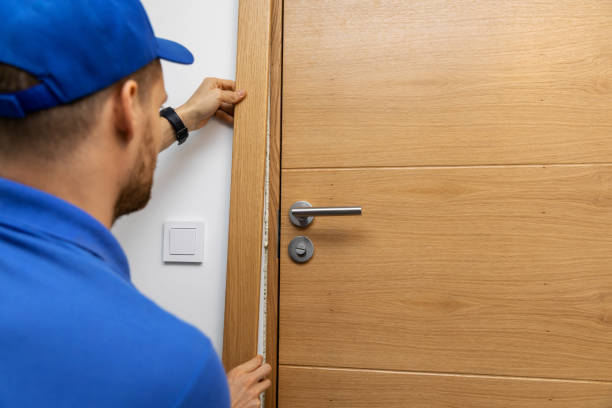
Step 2: Measure Accurately
- Measure the height and width of the rough opening.
- Check if your rough opening is square by measuring diagonally from corner to corner.
- Account for clearance space needed for shims and insulation—typically about 1/2 inch around all sides.
Record these measurements before purchasing your new door to avoid sizing issues.
Step 3: Prepare the Rough Opening
- Clean out any debris, nails, or old caulking left behind in the rough opening.
- Inspect for damage such as rotting wood; replace damaged areas if necessary.
- Install shims where needed to level uneven surfaces or adjust gaps within the frame.
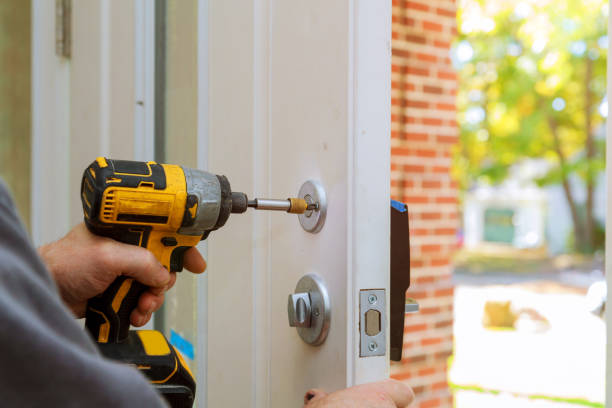
Step 4: Install Your New Door
For Pre-Hung Doors:
- Position the pre-hung unit into place within the rough opening.
- Adjust using shims until it’s perfectly level and plumb on all sides.
- Securely fasten screws through both sides of its frame into studs within your wall structure.
- Add insulation between gaps around its edges before reattaching interior trim pieces.
Step-by-Step Guide to Replacing a Door Successfully
Replacing a door can seem like a daunting project, but breaking it into clear steps can simplify the process. Whether you’re upgrading for aesthetic reasons, improving energy efficiency, or replacing a damaged door, this guide will help ensure the installation is smooth and effective. Below is a detailed breakdown of each step.
Tools and Materials Needed
Before beginning, gather all necessary tools and materials to ensure you’re prepared for each step of the process.
Tools: – Measuring tape – Level – Screwdriver (manual or electric) – Hammer – Saw (if resizing is required) – Pry bar – Utility knife – Drill – Caulking gun
Materials: – New door (pre-hung or slab door) – Hinges (if not pre-attached) – Screws – Shims – Wood filler or putty – Paint or stain (optional for finishing) – Weatherstripping and sealant
Step 1: Measure the Door Frame
2. Take height measurements from the floor to the top of the frame on both sides. 3. Measure the thickness of your current door to ensure compatibility with your new purchase.
Tip:Always double-check your measurements before purchasing a replacement door.
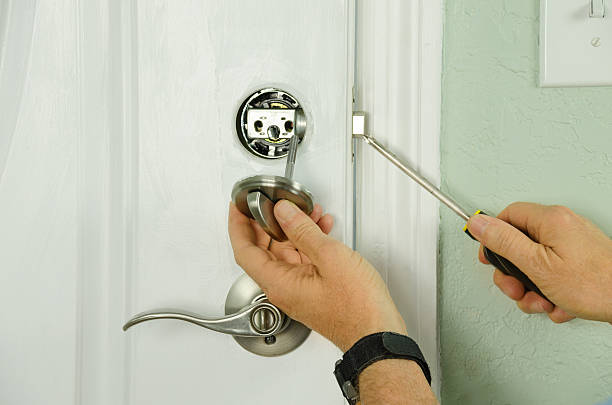
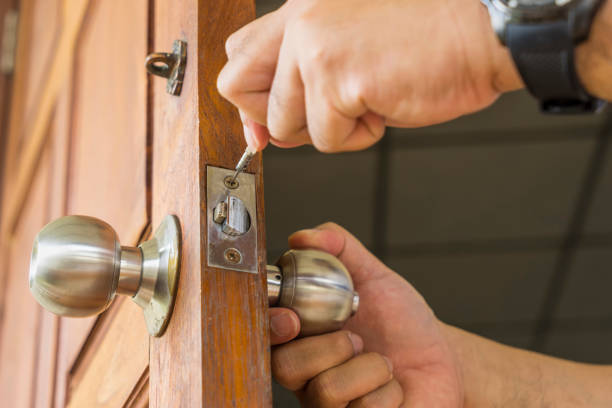
Carefully remove the current door along with any components that need replacing:
1. Unscrew hinges from both the frame and door using a screwdriver or drill. 2. If replacing trim as well, use a pry bar to gently remove it without damaging surrounding walls. 3. Remove any old weatherstripping or sealant from around the frame.
Step 3: Prepare the Door Frame
To ensure proper alignment during installation, inspect and prepare your existing frame:
1. Check for damage such as warping or rotting wood in wooden frames. 2. Ensure that all surfaces are clean of debris, nails, and old adhesive materials. 3. If necessary, use shims to correct uneven spots within the frame.
Step 4: Install Hinges on Your New Door
For slab doors: 1. Align hinges in their appropriate locations along one side of the new door based on prior hinge placements on your old one. 2. Pre-drill holes into marked areas before fastening screws securely.
For pre-hung doors: 1. Most come with attached hinges in place; confirm proper alignment before proceeding further.
Step 5: Position and Secure Your New Door
With assistance (since doors can be heavy), follow these steps: 1.
Exploring the Value and Comfort of Door Replacement Alexandria, VA Homes
Replacing doors in your home goes beyond aesthetic improvements. It offers numerous functional and financial advantages that can significantly enhance your living experience. Whether you’re considering replacing an exterior or interior door, understanding the benefits can help you make an informed decision.
Enhanced Energy Efficiency
One of the most significant benefits of upgrading your doors is improved energy efficiency. Modern doors are often designed with advanced insulating materials, such as foam cores or thermal breaks, which help keep your home at a consistent temperature. This minimizes heat loss during winter and keeps your interiors cooler during summer.
Key benefits of energy-efficient doors include: – Lower utility bills:Reduced energy consumption leads directly to lower heating and cooling costs.Environmental impact:Using less energy contributes to a reduced carbon footprint.Improved indoor comfort:Consistent temperatures enhance overall comfort for occupants.
Increased Home Value
Investing in door replacement can have a noticeable positive impact on your home’s resale value. Doors play a critical role in curb appeal and first impressions, making them valuable for potential buyers.
Ways door replacement adds value: – Enhanced aesthetics:Modern design options improve the visual appearance of both interior and exterior spaces.Perceived quality:High-quality doors give the impression of a well-maintained property.Higher ROI (Return on Investment):According to remodeling studies, replacing entry doors often yields one of the highest ROIs among home improvement projects.
| Door Type | Average ROI (%) | Key Advantages |
| Steel Entry Door | 60% – 90% | Durable, secure, low maintenance |
| Fiberglass Door | 65% – 85% | Weather-resistant, versatile style |
| Wood Entry Door | 55% – 80% | Classic appearance, customizable |
Improved Security
A sturdy and modern door can significantly increase the safety of your home. Older or worn-out doors may have vulnerabilities that make them easier targets for break-ins. Replacing these with durable materials such as steel or fiberglass ensures better security features.
Security enhancements provided by newer doors:– Reinforced frames that resist forced entry. – Multi-point locking systems for added strength. – Impact-resistant glass options in models with windows.
Noise Reduction
Replacing older doors can also lead to better soundproofing within your home, particularly when it comes to solid-core interior options or insulated exterior designs.
Soundproofing benefits:– Reduced noise from street traffic or neighbors. – Quieter indoor environment for rest or work.
Low Maintenance
Modern door materials require less upkeep compared to traditional wooden designs that might warp, crack, or peel over time. Fiberglass and steel options offer durability without compromising on style.
Examples of low-maintenance features include:– Resistant finishes that prevent chipping or fading. – Weather-resistant seals that guard against moisture intrusion.
By understanding these distinct advantages—ranging from enhanced security and efficiency to increased value—you are better equipped to see how door replacement is an investment not just in aesthetics but also in long-term functionality and financial savings.
Frequently Asked Questions About Door Replacement and Installation
When considering door replacement and installation, many homeowners have numerous questions about the process, costs, materials, and more. Below are some of the most frequently asked questions about door replacement and installation, with detailed answers to help guide you.
What Are the Signs That a Door Needs to Be Replaced?
A door may need replacing for several reasons.
– Warping or Cracking: Visible damage that impacts functionality or aesthetics.
– Difficult Operation: If the door sticks or doesn’t open/close smoothly, it might be time for a replacement.
– Drafts or Energy Loss: Gaps around doors can cause drafts and result in higher energy bills.
– Outdated Appearance: If the style is no longer consistent with your home’s design, replacing it can enhance curb appeal.
How Much Does It Cost to Replace a Door?
The cost of a door replacement depends on several factors:
1.Type of Door: Exterior doors (e. g. , front entry doors) tend to cost more than interior doors due to durability requirements. Steel or fiberglass options may also increase costs compared to wood or hollow-core models.
2.Labor Charges: Professional installations typically run between $100-$300 per door but could increase for custom fits or complex projects like sliding patio doors. 3.Additional Features: Upgrades such as smart locks, decorative glass inserts, and weatherproofing add extra expenses.
| Type | Average Cost (Materials Only) | Installation Cost (Per Door) |
| Interior Doors | $50 – $400 | $100 – $200 |
| Exterior Doors | $500 – $5,000+ | $150 – $400 |
What Are the Best Materials for Doors?
The choice of material plays a significant role in durability, appearance, and performance.
- Wood: Provides natural beauty and insulation but requires regular maintenance against warping or decay.
- Steel: Durable and secure but prone to dents if not handled carefully.
- Fiberglass: Low maintenance with excellent resistance to weather conditions; ideal for both exterior entryways and high-humidity areas.
- Hollow-Core(for Interior Doors): Lightweight and affordable; suitable for rooms where soundproofing isn’t critical.
Can I Replace a Door Myself?
Yes, with proper tools and preparation, many homeowners can replace doors themselves—especially interior ones without complex framing issues. However, exterior doors may require professional expertise due to factors like precise measurement needs for energy efficiency or ensuring proper sealing against weather elements.
If you decide on DIY installation: 1. Measure your existing door/frame accurately. 2. Remove hinges carefully before detaching hardware like doorknobs/latches/locks. 3 Assemble necessary tools beforehand (e. g. , levelers/screwdrivers/etc).
- Comprehensive Guide to Replacing Doors in Alexandria, VA: Everything You Need to Know
- Essential Guide to Replacing Screen Doors in Alexandria, VA: Tips for a Perfect Fit
- Ultimate Guide to Doors Alexandria, VA: Enhancing Aesthetic and Security
- Essential Tips from a Door Company in Alexandria, VA for Replacing Your Entry Door
- Comprehensive Guide to Door Repair Alexandria, VA: How to Replace Your Front Door
- Tips and Tricks for Smooth Door Installation Alexandria, VA Homeowners Can Rely On
- Door Replacement Alexandria, VA: Your Ultimate Guide to a Seamless Upgrade
- Your Complete Guide to Installing Doors in Alexandria, VA